We use cookies to make your experience better. To comply with the new e-Privacy directive, we need to ask for your consent to set the cookies. Learn more.
Fitting a deco kit is a crucial step for those wishing to personalise the appearance of their motorbike.
This procedure requires a certain amount of preparation and special attention to ensure a professional, aesthetic result.
For motorbike enthusiasts looking to personalise their bike, the fitting of a deco kit is of significant importance from both an aesthetic and a technical point of view. From an aesthetic point of view, the way in which the kit is applied can greatly influence the final appearance of the motorbike. Precise application, without bubbles or creases, guarantees a professional finish and enhances the carefully chosen design. It's a unique way of expressing the rider's personality through their machine.
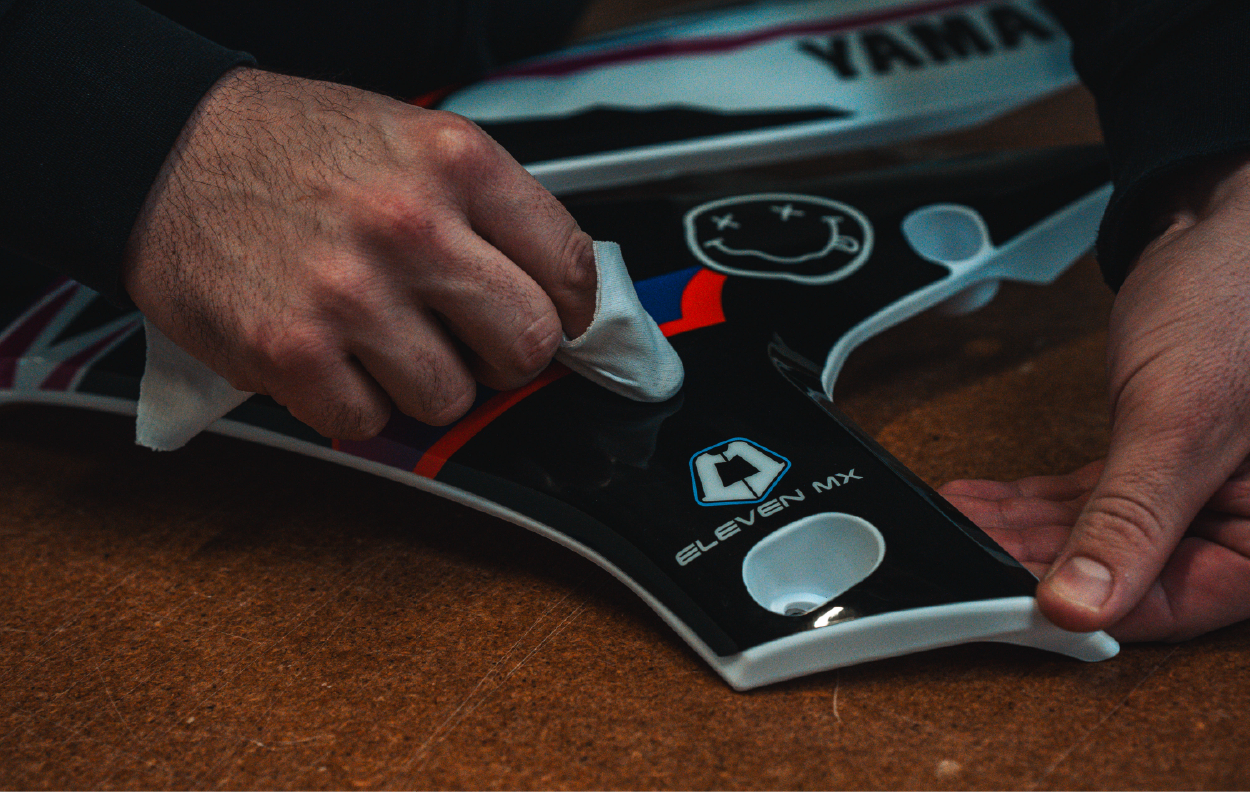

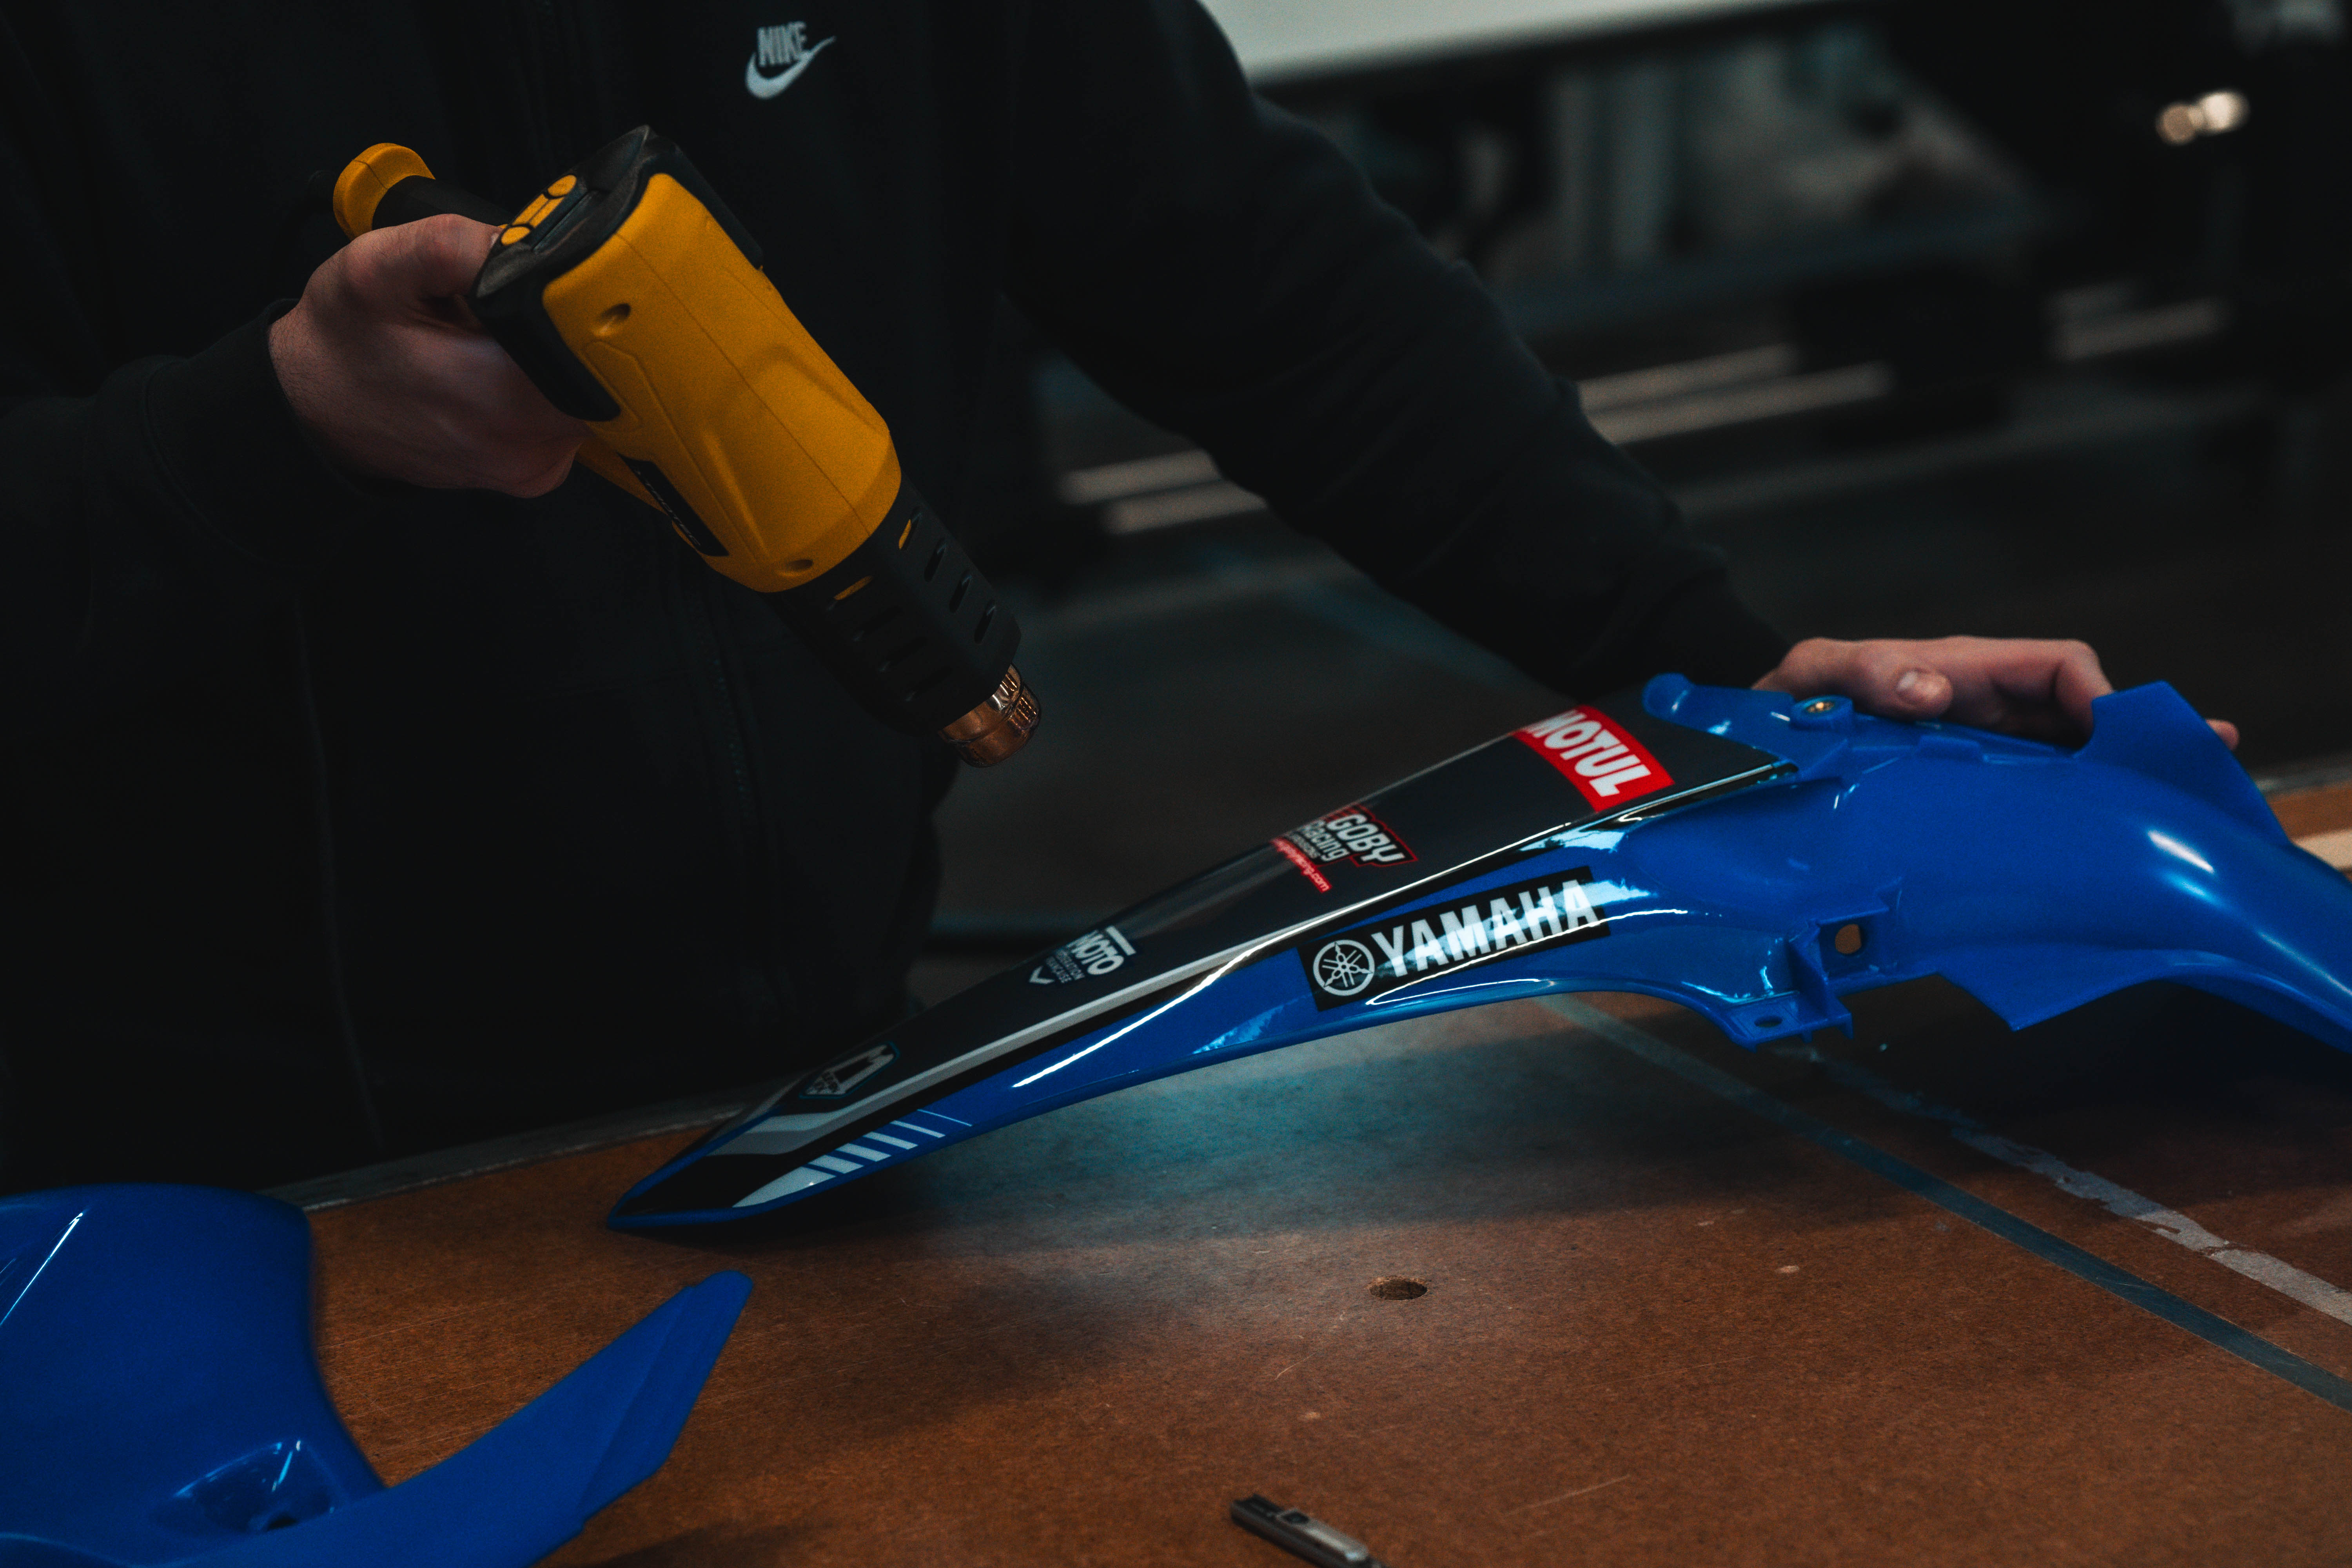

From a technical point of view, correct fitting ensures optimum adhesion of the kit to the surface of the motorbike. This contributes not only to the longevity of the kit, but also to its resistance to the elements and to the stresses of riding. Careful application also helps to avoid potential problems such as the deco kit peeling off.
Ultimately, fitting a deco kit is an act of personalisation that goes beyond the aesthetic. It shows the rider's commitment to his machine and his desire to create a unique visual connection with his motorbike.
In this way, the fitting of the deco kit becomes a central element of the customisation experience, providing not only a distinctive aesthetic but also a crucial technical touch for a motorbike that truly stands out.
Degrease with a plastic brake cleaner
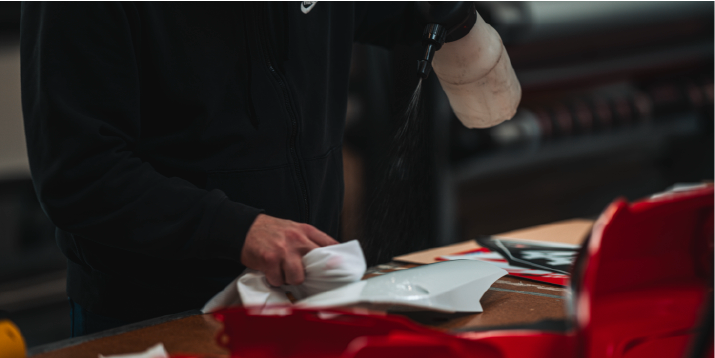

Thinly and lightly cut a strip of the liner
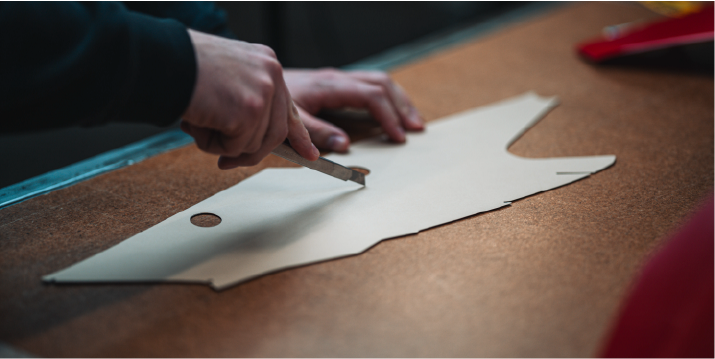

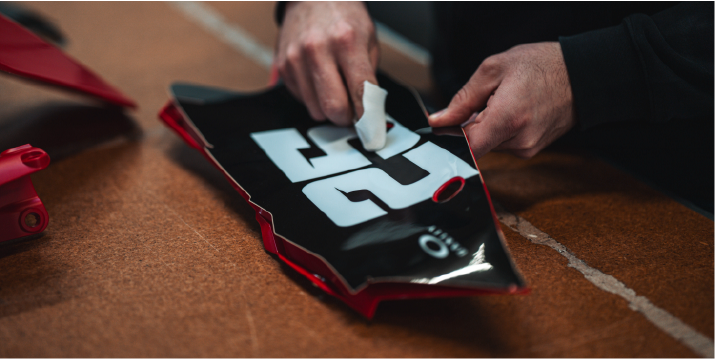
Place your decoration kit on the plastic according to the template
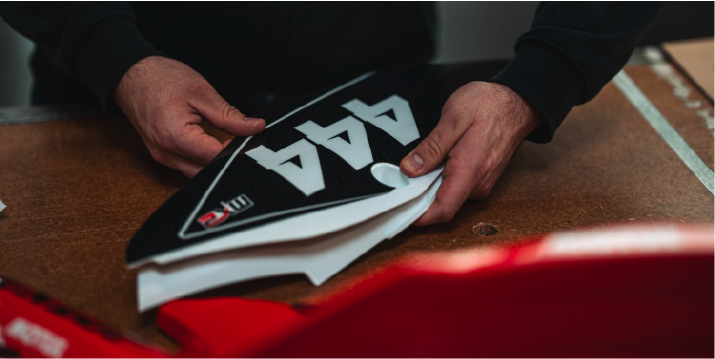

Remove the liner from the Deco Kit
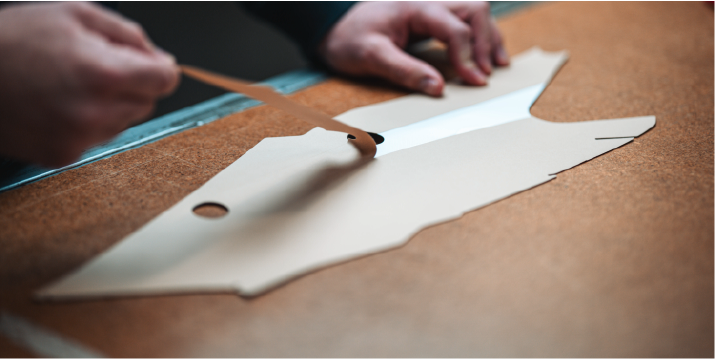

Glue from the inside out

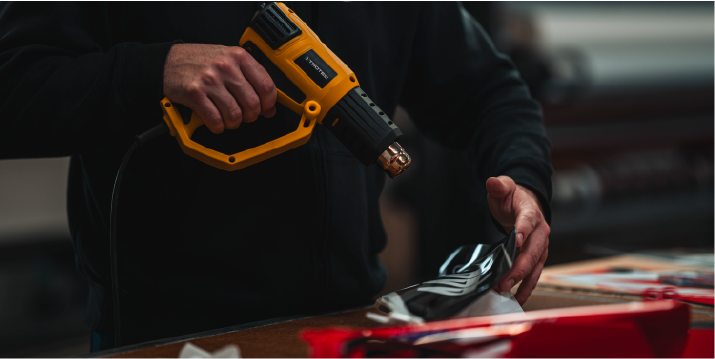
Heat to set the glue

Regarde la vidéo qui va bien :


 Espanol
  Français
  Italiano